
Last updated November 15, 2026
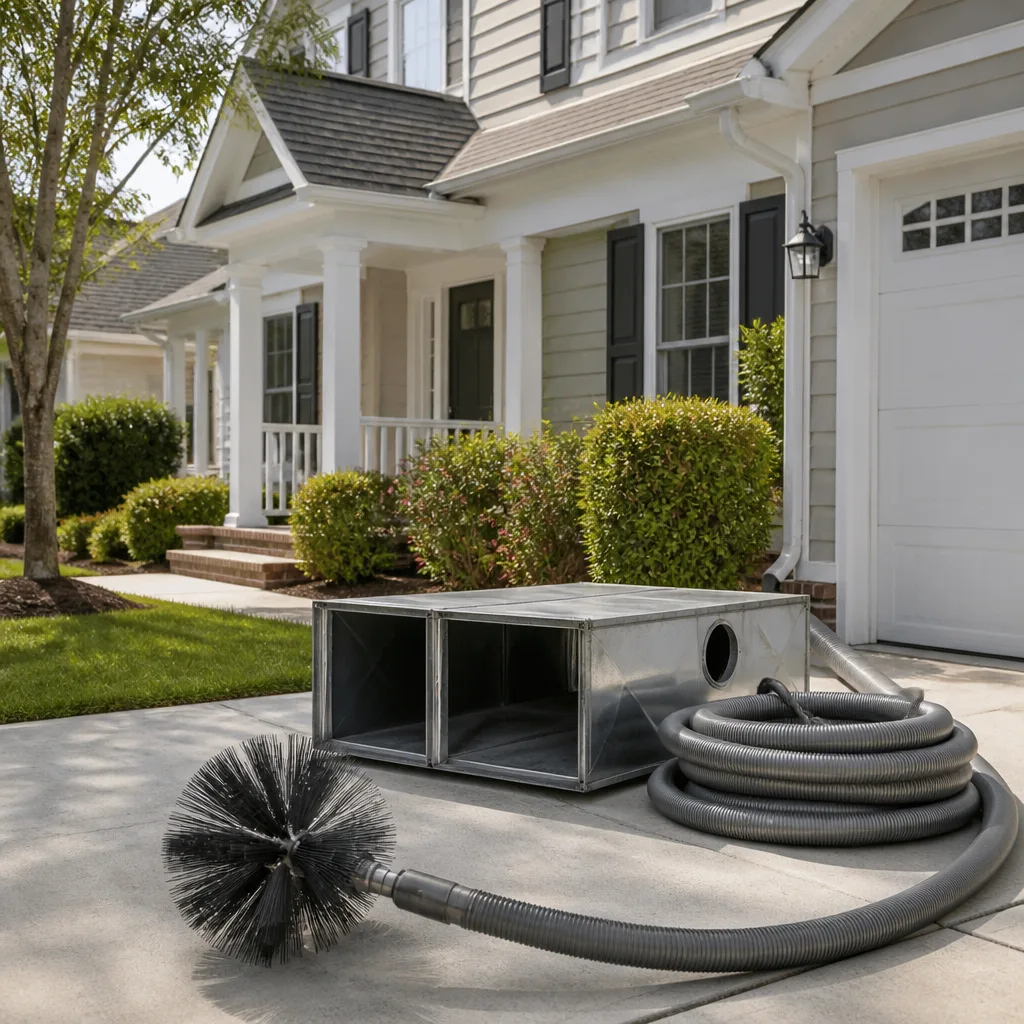 Whole-home duct cleaning
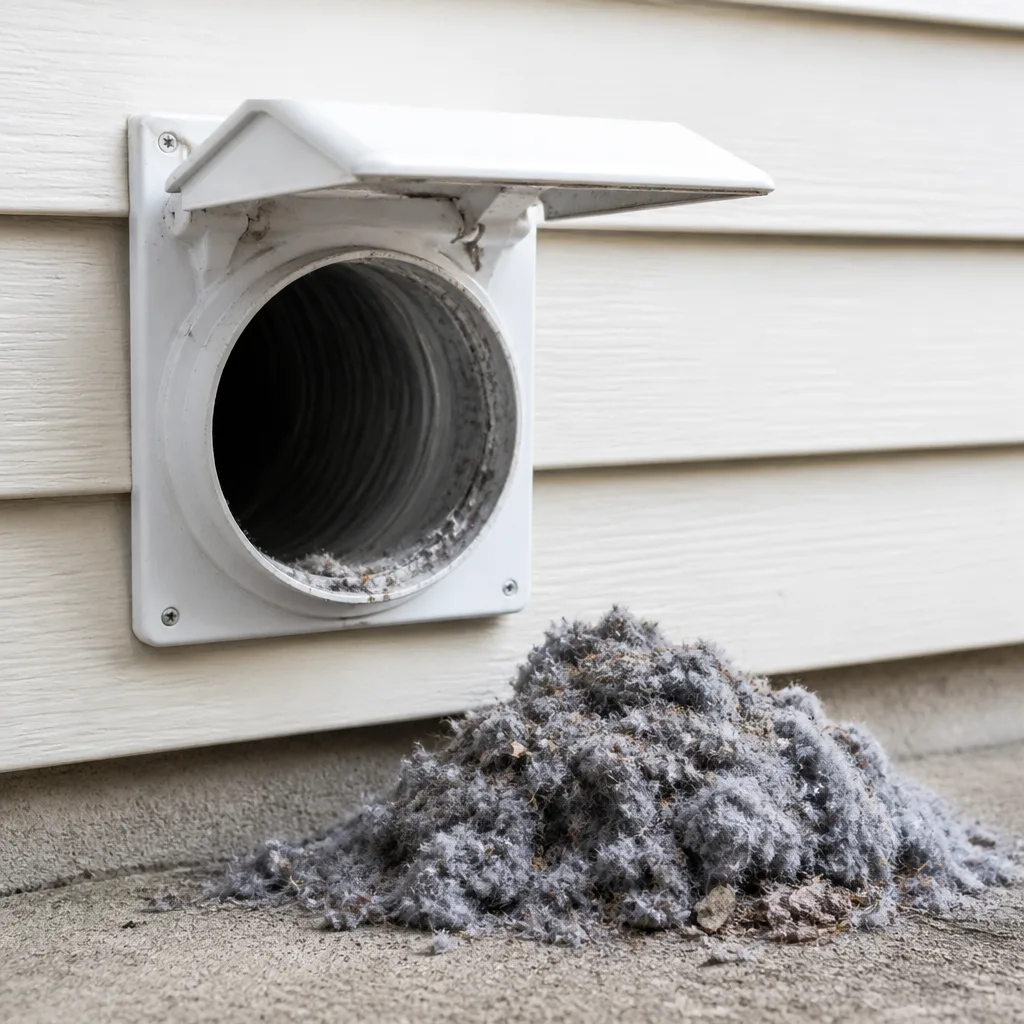 Dryer vent cleaning
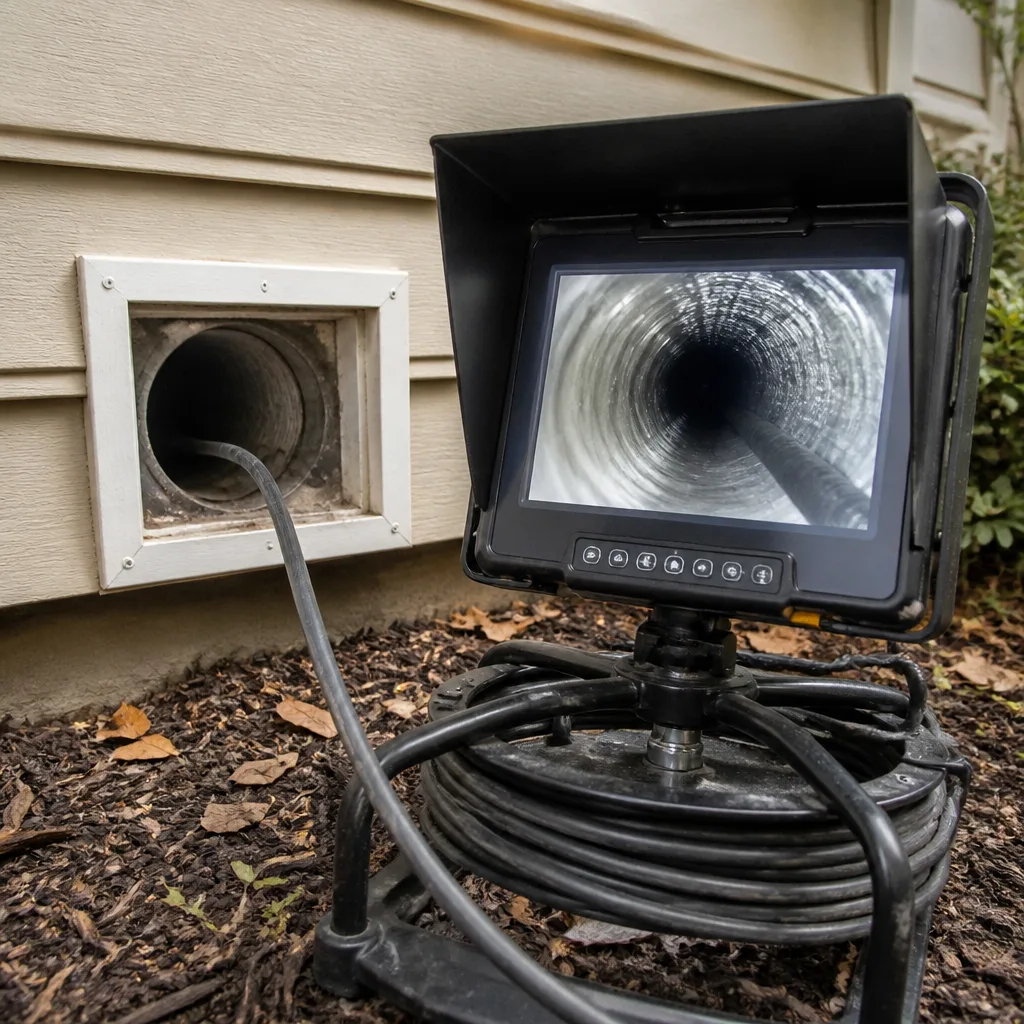 Camera inspection
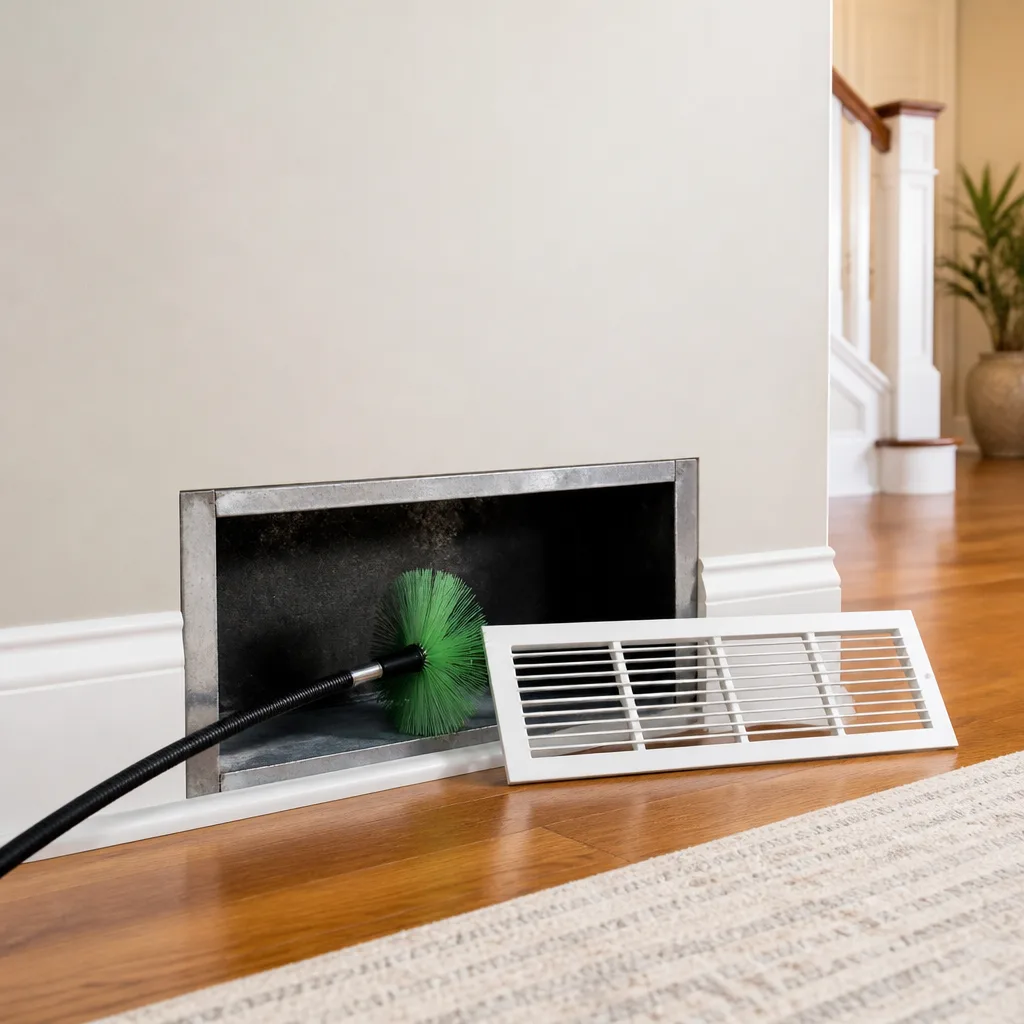 Sanitizing & deodorizing
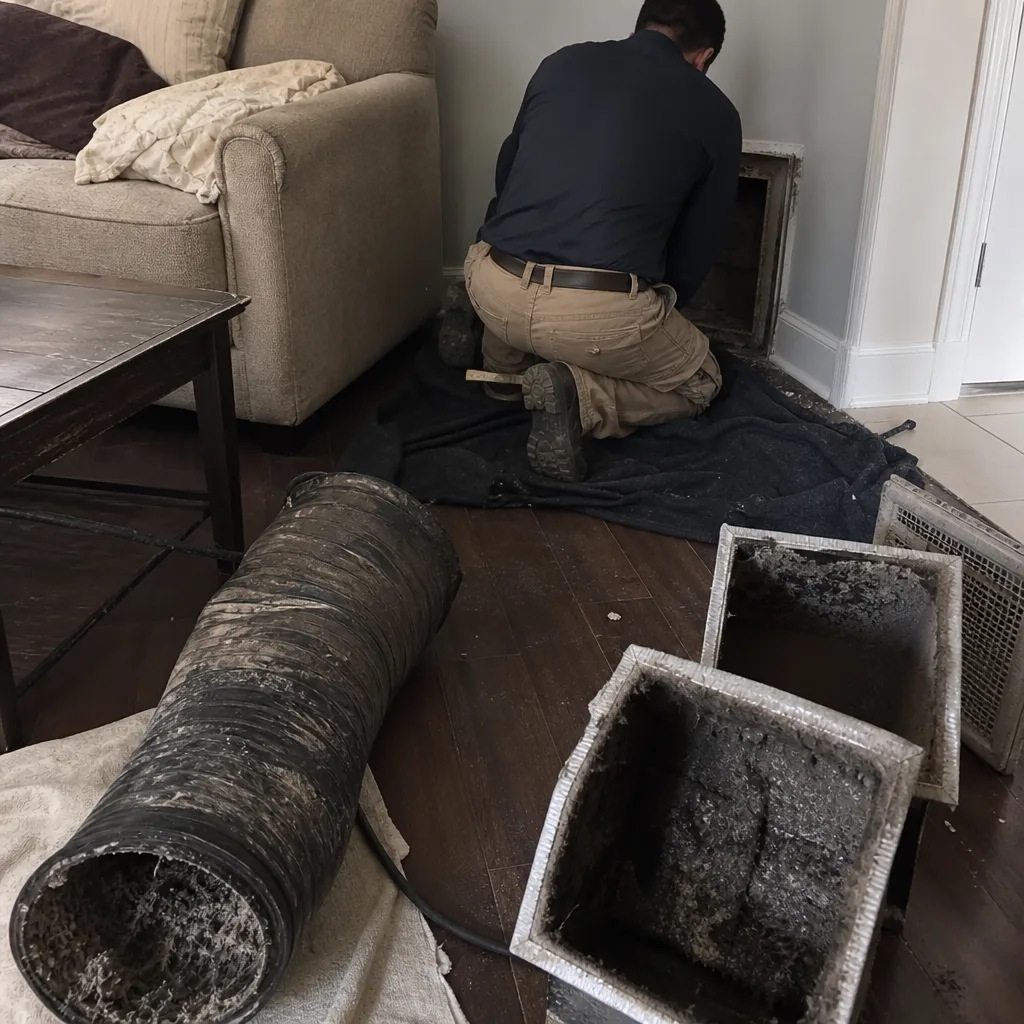
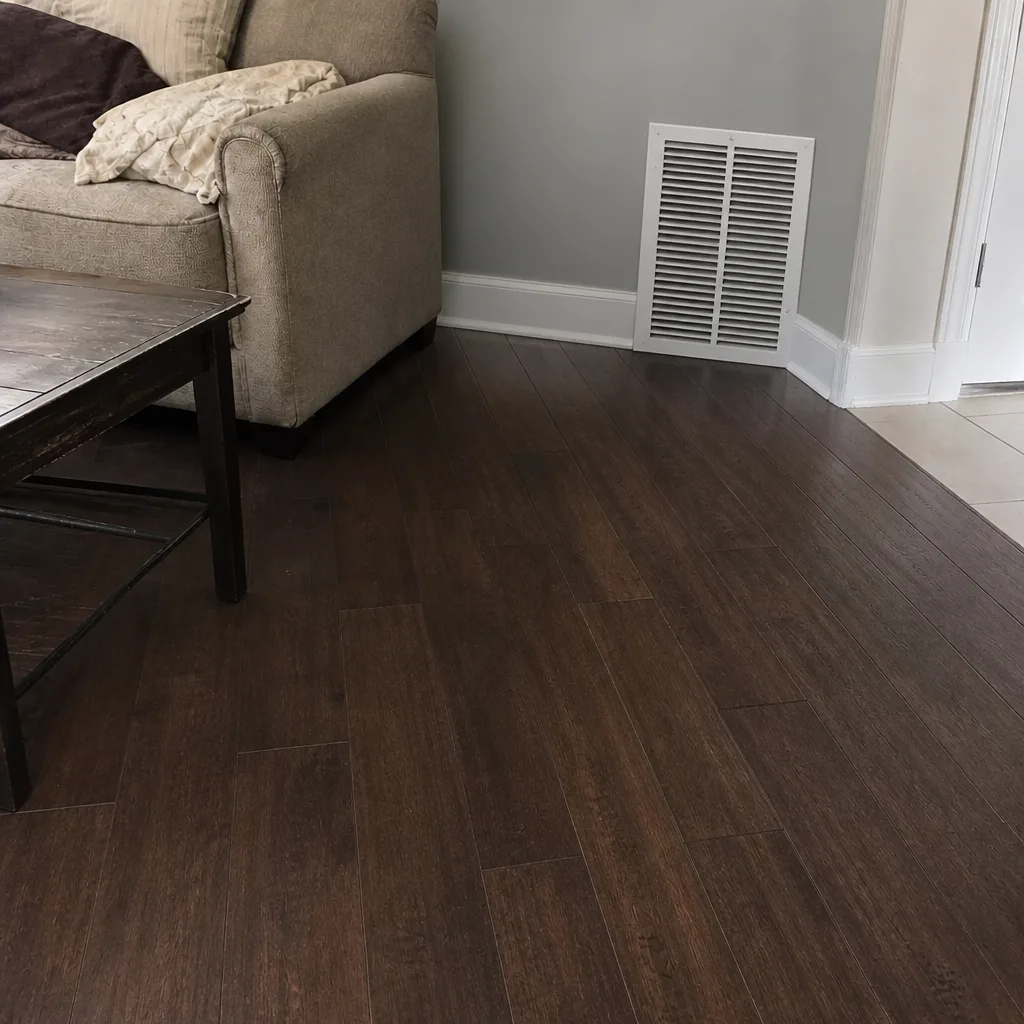
Whole-system duct and dryer vent check with before-and-after photos - you see exactly what came out of your vents
That "$99 whole-house special" is a bait ad - the real number appears once they are in your hallway, or the "clean" is a shop-vac at the register. We photograph the inside of your ducts before and after instead.
DIY vs Professional Air Duct Cleaning: The McKinney Homeowner’s Decision Guide
A shop vac doesn’t clean ducts. It touches the surface of them. That’s the uncomfortable truth most DIY duct cleaning advice skips, because the numbers aren’t close. A strong wet/dry vac pulls roughly 100 cubic feet per minute. A professional negative air machine moves 2,000 to 4,000 CFM. That’s a 20x to 40x gap, and no amount of patience or nozzle attachments closes it, because airflow is a physics problem, not a technique problem. In this guide we’ll show you exactly where the DIY ceiling sits, what falls above it, and how to use your own inspection findings to brief a professional well. If you live in McKinney and you’ve been staring at your return grille wondering whether to rent a vacuum or book a crew, this is written for you.
Key Takeaways
- DIY works fine on the parts you can reach. Grille cleaning, filter swaps, and phone-camera inspection are genuinely useful homeowner tasks.
- DIY fails at source removal. Consumer vacuums can’t generate the negative pressure and agitation needed to lift debris off duct walls.
- Some DIY attempts make things worse. Agitating debris without capturing it just redistributes it. Disturbing mold sends spores through the house.
- Your own inspection findings are valuable. Photos and notes from your phone camera will make a professional’s first visit faster and more targeted.
- The cost math favors DIY only for surface-level maintenance. For anything inside the duct runs, professional extraction accomplishes something DIY physically can’t.
Styles & brands we work with
- Whole-home duct cleaning
- Dryer vent cleaning
- Camera inspection
- Sanitizing & deodorizing
Quick Answer
In most cases, homeowners can safely handle grille cleaning, filter replacement, and visual inspection with a phone camera, but genuine duct interior cleaning requires equipment that no consumer vacuum can replicate. Professional cleaning uses negative-pressure machines, brush agitation, and HEPA capture to extract what’s actually stuck to the duct walls. If you’re seeing visible debris, dealing with a musty smell, or cleaning up after a renovation in McKinney, the DIY ceiling is real and you’re standing under it.
Table of Contents
- What actually separates DIY from professional duct cleaning?
- What can you legitimately do yourself?
- Why is the physics of negative pressure the whole ballgame?
- When can a DIY attempt make things worse?
- How do you use DIY inspection findings to brief a professional?
- What’s the cost-benefit math for McKinney homeowners?
- What equipment do professionals actually bring?
- How do you tell a real duct cleaning from a bad one?
What actually separates DIY from professional duct cleaning?
The difference isn’t a better nozzle or a longer hose. It’s the combination of three things working together: contact agitation, sustained negative pressure, and HEPA-grade filtration at the capture point. A homeowner with a shop vac has none of those three deployed in a duct run. The machine sits outside the duct drawing a modest volume of air through an unrestricted opening, which means the air takes the path of least resistance and the debris stuck to the duct walls stays right where it is.
A professional setup reverses that. A negative air machine pulls the entire duct system into sustained negative pressure while a Rotobrush brush-agitation system physically spins through the runs and knocks debris off the walls. That dislodged material is then captured by Nikro HEPA filtration at the collection point rather than drifting back into living space. Each of those three steps exists because the previous one leaves material for it to handle. Skip one and the chain breaks.
In practical terms, here’s what’s inside a duct run that DIY doesn’t reach:
- Accumulated dust bonded to duct walls by years of condensation cycles and airflow
- Debris settled at the shoulders and turns where airflow slows down
- Drywall dust and construction particulate lodged in flex duct ribs after a renovation
- Pet hair and dander matted against sheet metal, which vacuum airflow alone won’t lift
- Fine particulates that stay airborne in the return plenum unless the system is pulled negative
When we talk with homeowners in McKinney who’ve tried vacuuming a return themselves, the report is almost always the same: “It felt like nothing was happening.” That’s not a mistake in technique. That’s the equipment doing exactly what a consumer vacuum is designed to do, which is clean a floor, not a sealed duct system.
What can you legitimately do yourself?
A surprising amount, and we’d rather you do it well than skip it entirely. DIY is genuinely useful for maintenance and inspection, just not for cleaning the interior of the system. Here’s what falls cleanly into the homeowner column:
- Clean the grilles. Return and supply grilles collect visible dust and can be removed, washed in a sink with mild soap, dried, and reinstalled. This is worth doing once or twice a year and takes ten minutes per grille.
- Replace filters on schedule. A clogged filter reduces airflow through the whole system and stresses the blower. Check monthly during heavy-use months and swap when it’s visibly loaded. Any filter rated higher than what your HVAC system was designed for can actually restrict airflow, so match the rating your system calls for.
- Inspect with your phone camera. Pop off a grille, hit the video light, and record a slow pan through a return or supply opening. You’ll see the first few feet of duct, which is often enough to spot obvious debris, moisture, or a disconnected flex joint.
- Check for obvious air leaks. A hand near duct joints during operation will sense air escaping. Note where it’s coming from so you can point it out to a technician.
- Keep the return area clear. Furniture, rugs, and boxes blocking return grilles reduce system airflow and pull more dust out of the air onto nearby surfaces.
Notice what’s missing from that list: anything involving a vacuum inside the duct. That’s not because we want to sell you something. It’s because the equipment needed doesn’t exist at retail, and the workarounds people try (shop vac with a hose duct-taped to a grille, leaf blower reverse trick) tend to be either ineffective or counterproductive.
Why is the physics of negative pressure the whole ballgame?
Air moving through a duct behaves like any fluid. It takes the path of least resistance, and a modest volume pulled from a single open grille isn’t enough to move the air uniformly through the entire run. Debris that’s bonded to the duct wall needs two things to release: physical agitation to break it loose and enough negative pressure to carry it to a collection point before it drops back down or drifts into the room.
Here’s the rough comparison:
- Consumer wet/dry vacuum: roughly 100 CFM of airflow, with the machine positioned outside the duct and pulling through an unrestricted opening.
- Professional negative air machine: 2,000 to 4,000 CFM, with the entire duct system sealed and drawn into negative pressure.
That’s a 20x to 40x difference. Even if a homeowner managed to fabricate a perfect seal around a shop vac hose, the machine’s airflow ceiling wouldn’t change. Vacuum suction at the nozzle is not the same as volume of air moved through the system, and volume is what carries debris out of a long duct run. This is the part that DIY guides consistently gloss over because it’s inconvenient to acknowledge. Consumer equipment can’t clean what it can’t move, and it can’t move what it can’t reach.
We bring Abatement Technologies negative-air machines to jobs because those are the same units specified for mold remediation and professional restoration work. Not because it sounds impressive, but because anything less doesn’t establish the pressure differential needed for source removal. When you read Duct Cleaning McKinney service details, what you’re really reading about is the equipment and the process that equipment enables.
When can a DIY attempt make things worse?
This is the section most homeowners haven’t considered. DIY duct cleaning usually fails by doing nothing, but there are specific scenarios where it actively makes the problem worse. Three stand out:
- Agitating debris without capturing it. If you rig a vacuum hose or a brush into a duct run and knock dust loose without enough negative pressure to carry it to a capture point, that debris doesn’t leave. It redistributes. Some settles further down the run, some pushes back into the supply registers, and some ends up in the air the system is actively recirculating. You’ve now spread the material you were trying to remove.
- Disturbing mold. If your phone inspection shows dark staining, musty smells, or visible growth on duct surfaces, stop. Mold colonies release spores when disturbed, and a shop vac without HEPA filtration blows them straight back into the room. Professional cleaning in that situation relies on negative pressure and HEPA capture precisely to avoid that outcome, and honestly, some jobs should be treated with containment before any cleaning starts at all.
- Unseating flex duct connections. Flex duct is a plastic sleeve over a wire coil, connected to plenums and boots with tape or zip ties. Pulling on it with a vacuum nozzle, or shoving a brush through it, can pop a connection loose or tear the inner liner. That drops conditioned air into a wall cavity or attic, which reduces system efficiency and can pull unconditioned air into your living space. A compromised joint is sometimes not discovered until it’s been running that way for a while, and repair then means getting into the crawl or attic to reconnect or replace.
None of these are catastrophic in the way a gas leak or an electrical panel problem is. But they’re the reason “just try it yourself first” isn’t the free option it appears to be. You can spend a couple of hours, buy the right fittings, and end up with a distribution problem you didn’t have before.
How do you use DIY inspection findings to brief a professional?
This is the part we wish more homeowners did. A good phone-camera inspection before you call makes the first visit more productive and, in some cases, cheaper because the technician already knows where to focus. Treat it as preparing a briefing, not as doing the job. Here’s the sequence:
- Photograph the last filter. If it’s unusually dark, has visible growth, or has been loaded faster than expected, that tells the technician something about what’s upstream.
- Record a slow pan through two or three return grilles and supply openings. Hold the phone steady. You’re looking for visible debris, dark staining, water marks, or a duct interior that looks split or disconnected.
- Note any smells. Musty, sour, or “old building” smells point toward moisture or microbial activity, which changes the cleaning approach.
- Note any rooms that smell worse than others, or feel hotter or cooler than they should. That can be a sign of a leak or a compromised run.
- Write down recent history. Renovation, new flooring, a water event, pest activity, a filter change routine, or a recent move-in all matter.
- Point out anything you’ve already spotted yourself. A loose joint, a bent fin, an odd gap at a boot.
Hand that to the technician and you’ve just saved twenty minutes of exploratory work and given them a much better chance of finding the actual problem on the first visit. For a wider view of what a thorough visit covers, our air duct cleaning page walks through the process step by step.
What’s the cost-benefit math for McKinney homeowners?
Air duct cleaning is priced per job, set by a written estimate before work starts, so we can’t give you a single number that applies to every McKinney home. What we can do is lay out the trade honestly so you can decide.
The DIY route looks like this in practice:
- Theoretical cost: $0 if you own a shop vac and have an afternoon.
- What it accomplishes: grille cleaning, filter replacement, some surface debris removal at the immediate opening.
- What it doesn’t accomplish: anything inside the run, anything in the return plenum, anything stuck to a duct wall.
- Hidden cost: risk of spreading debris, disturbing mold, or loosening a flex joint.
The professional route looks like this:
- Cost: a per-job estimate, agreed in writing before work begins.
- What it accomplishes: contact agitation through the actual duct runs, sustained negative pressure across the system, HEPA capture of what’s been dislodged, and a documented before-and-after of your own system.
- What it doesn’t accomplish (and won’t claim to): permanent dust elimination. Ducts refill over time, and that’s why periodic cleaning is a maintenance rhythm rather than a one-time fix.
- Bonus layer: a professional visit is also a physical inspection. If the ductwork has a leak, a disconnected joint, or a damaged section, that’s discovered while the system is being opened. That repair can typically be handled in the same engagement rather than handed off to a second contractor.
The math that matters is what’s being accomplished for the money, not what the number is. A DIY attempt that accomplishes surface cleaning at zero cost is a fair deal for surface cleaning. It’s a poor deal if your actual problem is bonded debris or a post-renovation dust load, because the problem remains after the afternoon is spent.
What equipment do professionals actually bring?
The equipment is where the honest answer to the DIY-vs-pro question lives, so it’s worth naming specifically what gets brought to a job and why. Every piece exists because the previous one leaves material for it to handle.
- Rotobrush brush-agitation systems. These spin a brush through the duct run to physically knock debris off the walls. Suction alone doesn’t lift bonded material, so contact agitation comes first. Rotobrush is contractor-grade equipment recognized across the professional duct cleaning industry.
- Nikro HEPA filtration. Once debris is dislodged, HEPA-rated vacuum capture traps the particulates during extraction rather than letting them drift back into the airstream. Every particle captured at the machine is a particle that doesn’t end up on your furniture.
- Abatement Technologies negative-air machines. These establish negative pressure across the duct system so that anything released during cleaning moves toward the collection point instead of into living space. The same negative-air tools are specified for mold remediation and disaster restoration work, which tells you something about how seriously the industry takes containment.
- Honeywell and Aprilaire IAQ components. Filters, media cabinets, and accessories from brands most homeowners already recognize. A duct cleaning visit is a natural moment to assess whether whole-home air quality products are a good fit for the system. These installations are available when they make sense for your home.
- Inspection tools. Camera gear and the experienced eye of a technician who’s looked into hundreds of duct systems. Our technicians have up to 13 years of experience.
When we show up, we’re not carrying equipment that overlaps with what a homeowner could rent. We’re carrying equipment that’s specified for restoration work, and the process reflects that. Rotobrush agitation and Nikro HEPA capture make a two-step process where neither step is skipped.
How do you tell a real duct cleaning from a bad one?
You ask questions before booking. The duct cleaning industry has earned its skeptical reputation, and the way to protect yourself is to know what separates a documented process from a hopeful one. Here’s the checklist we’d recommend for any company you’re considering in McKinney or anywhere nearby:
- Ask what equipment they use. If the answer is a shop vac and a hose, that’s the DIY ceiling in professional packaging. Brush agitation and HEPA capture are the minimum for a real cleaning.
- Ask whether they’ll show you before-and-after photos of your own ducts. A real process leaves visible evidence. Generic stock photos are not evidence.
- Ask how the price is set. The honest answer is per job, agreed in writing before work starts. If you’re quoted per vent and the total grows once they’re on site, that’s a flag.
- Ask what happens if they find damage. Flex duct is easy to tear, and old ductwork sometimes isn’t in good shape. A company that can repair what it finds is a company that won’t hand you off to a second contractor mid-job.
- Ask about containment. On any job with a visible growth issue or a heavy post-renovation dust load, negative pressure and HEPA capture aren’t optional. If the answer to “how do you keep dust out of my living space” is vague, keep looking.
- Ask whether dryer vent cleaning is part of the picture. A dryer vent is part of the home’s air-moving system and a leading cause of residential fires. It’s a standalone service, but it belongs on the same checklist.
One area worth noting for McKinney homeowners in particular: our summers are long and hot, which means HVAC systems here run hard for months at a stretch. That run-time means more air cycles through the ducts per season than in a milder climate, and more cycles means more accumulated load. It doesn’t change the principles, but it does mean the “how often should this happen” question gets answered a little sooner than it might elsewhere.
See the difference
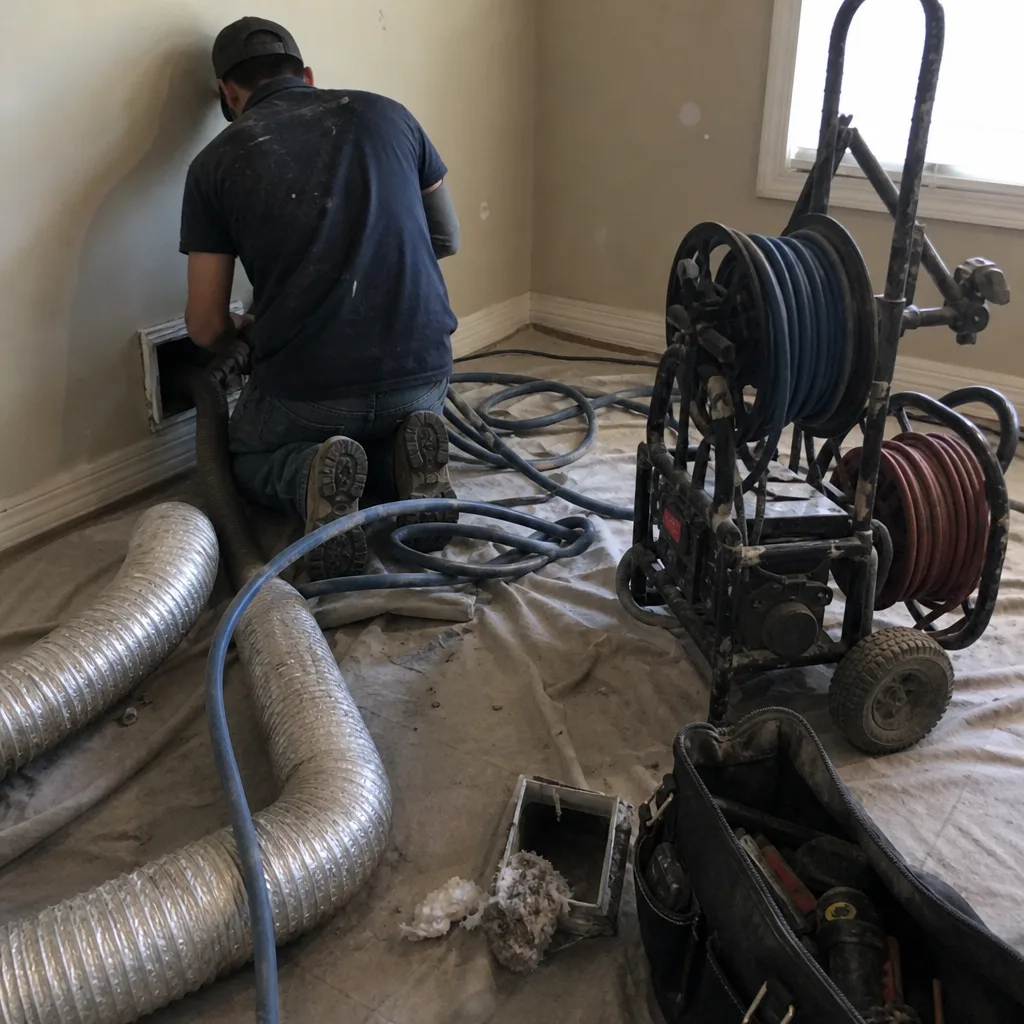 Before
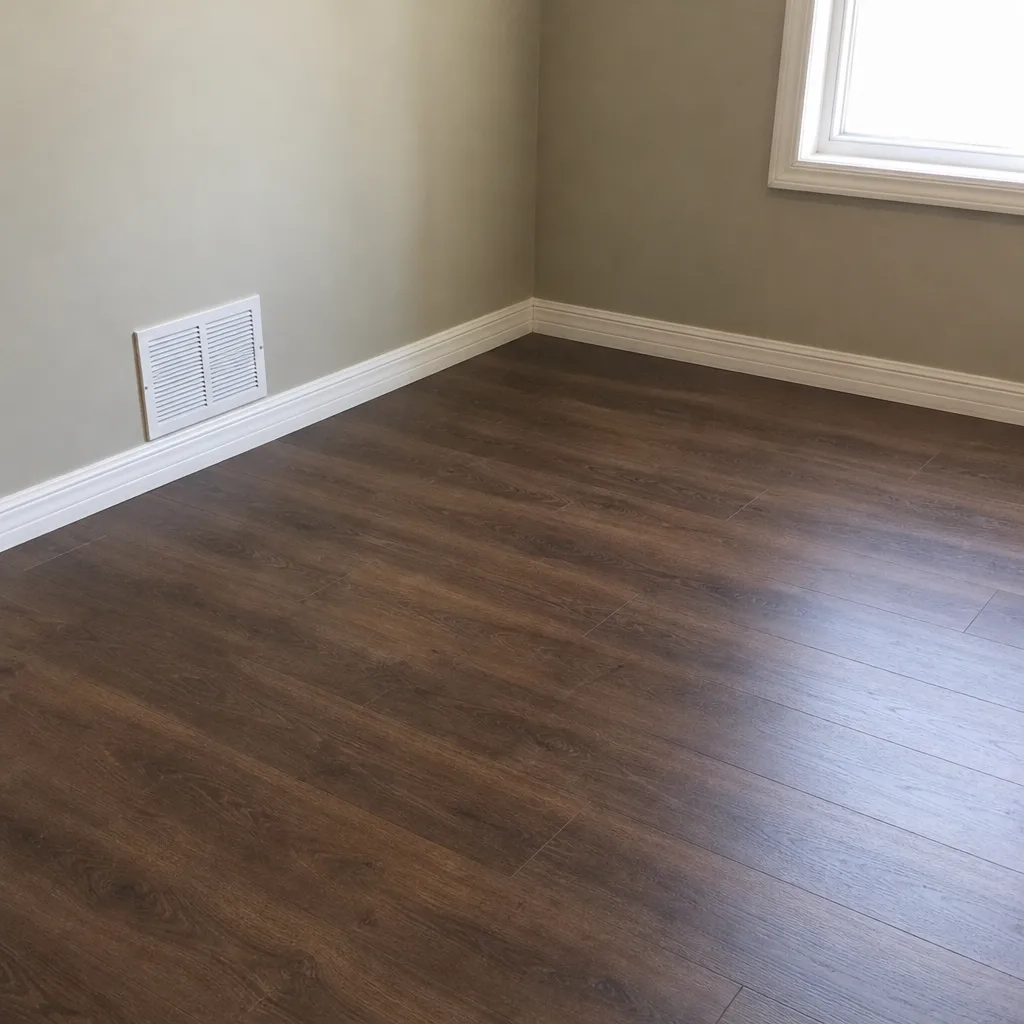 After
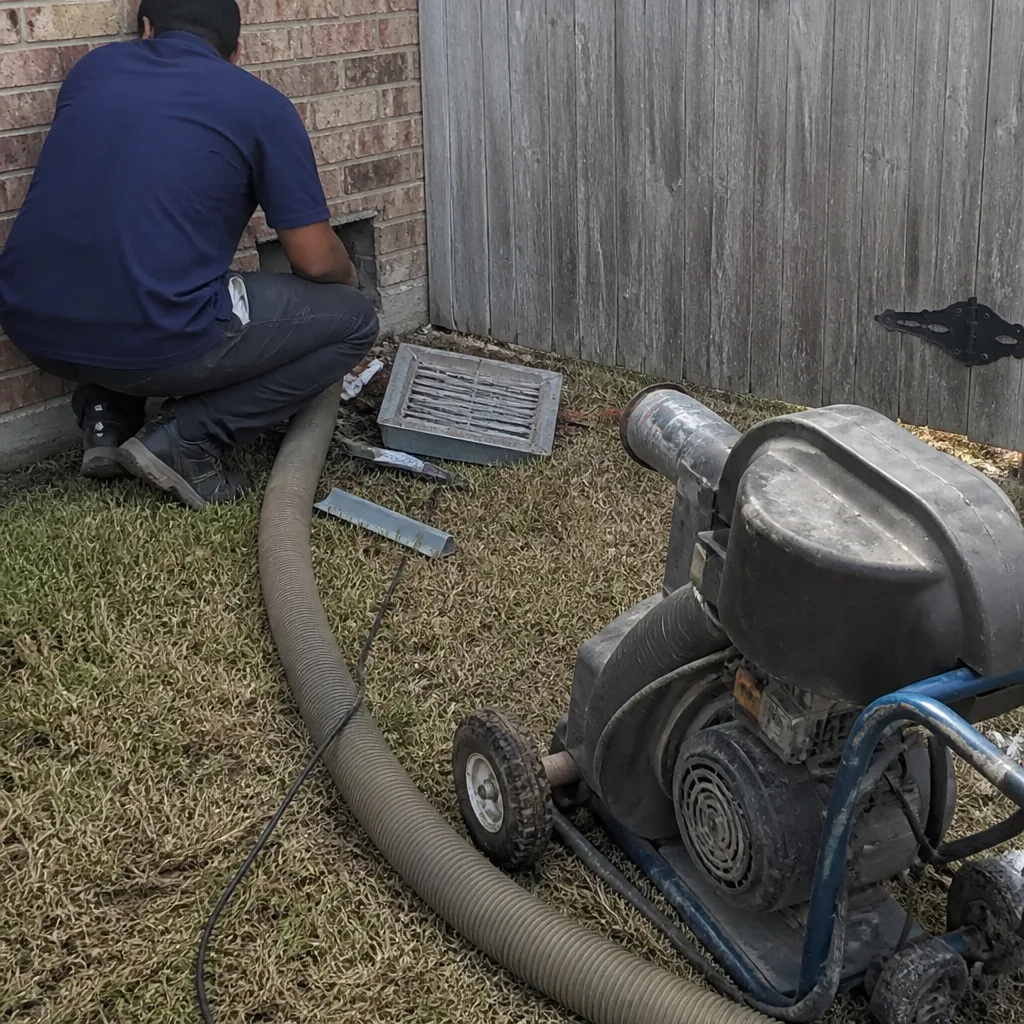 Before
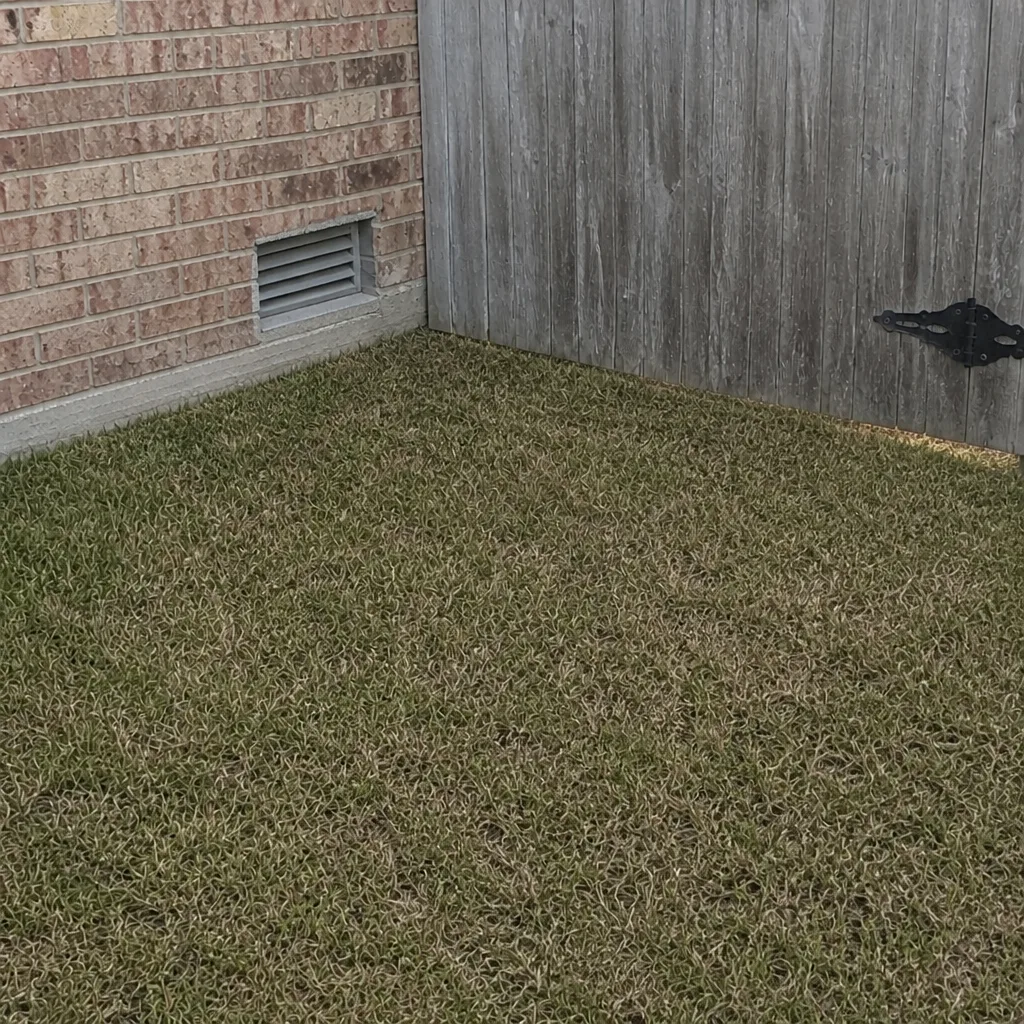 After
 Before
 After
Common Mistakes to Avoid
- Duct-taping a shop vac hose to a grille and calling it cleaning. Suction at the nozzle is not the same as moving air through the system. You’ll lift a handful of surface dust and leave everything else in place.
- Using a leaf blower to “blow out” the ducts. This agitates debris without any capture, which sends it into the airstream and back into your home. It’s the single worst version of the DIY approach.
- Cleaning ducts without shutting off the HVAC system and covering registers. If the system keeps running while you work, it’s pulling disturbed dust back through the return.
- Reaching into a duct to grab debris by hand. Flex duct liners tear easily, and a torn liner or popped joint can drop conditioned air into a wall cavity. It’s a small repair that becomes a bigger one if it’s not found.
- Ignoring a musty smell after DIY cleaning. If the smell persists or gets stronger, you’ve likely disturbed growth rather than removed it. Stop and get it evaluated.
- Assuming a new filter fixes a duct problem. A filter captures what reaches it, not what’s sitting on the duct walls upstream. A dirty filter after a duct problem often points to the ducts, not the filter itself.
- Booking on price alone from a McKinney duct cleaning ad. A very low headline number usually means the quoted scope is smaller than what the home needs. Ask what the price includes before you schedule.
When to Call a Professional
Call a professional if any of the following is true: you’re seeing visible debris or dark staining in a return, you notice a musty or sour smell when the system runs, you’ve recently finished a renovation or moved into a home with unknown maintenance history, you’re having respiratory symptoms that seem tied to indoor air, or you’ve spotted a loose or torn flex duct. Each of those situations means the DIY ceiling has already been reached. You don’t need to try harder at home. You need equipment that can actually do the work.
Duct Cleaning McKinney offers free estimates in McKinney, and the price for the job is set by a written estimate before any work begins. Call (866) 361-7225 to get one. We answer 24/7. Fast dispatch from 7am to 7pm, Sunday through Friday.
Frequently Asked Questions
You can clean grilles, replace filters, and remove surface dust at the immediate opening, but you can’t clean the duct interior with a shop vac. The machine’s airflow is roughly 100 CFM compared to the 2,000 to 4,000 CFM a professional negative-air machine moves, and that gap can’t be closed by trying harder. For anything beyond surface maintenance, you need equipment a consumer vacuum can’t replicate. Call (866) 361-7225 for an exact quote; estimates are free.
Air duct cleaning in McKinney is priced per job, set by a written estimate after we see your system, since duct size, layout, and condition vary from home to home. We don’t quote per vent and we don’t use a low teaser figure that grows once a technician is on site. What you see in the written estimate is what the job costs. Call (866) 361-7225 for a free estimate on your specific system.
Visible debris or dark staining when you look into a return, a persistent musty smell when the system runs, recent renovation dust, a recent move into a home with unknown history, or a change in airflow quality are all signals worth acting on. A phone camera is your first tool here. Record a slow pan through a couple of grille openings and use what you see to brief a professional. Call (866) 361-7225 if what you’re seeing doesn’t look like ordinary dust.
Some cheap quotes cover less work than the home needs, and the gap shows up as added charges once the technician is on site. Others use consumer-grade equipment that can’t accomplish actual source removal, so the work photographed afterward looks similar but doesn’t match what was really cleaned. Ask what equipment a company uses, whether you’ll see before-and-after photos of your own ducts, and whether the price is fixed before work starts. Call (866) 361-7225 if you’d like a written estimate to compare against what you’ve been quoted elsewhere.
You ask for before-and-after photos of your own ducts, not stock images. A real process with brush agitation and HEPA capture leaves visible evidence of what came out of the system, and a company that can produce it for your specific home is a company you can verify. Ask before booking. Call (866) 361-7225 to schedule a visit and we’ll walk through the photos with you.
Most homes here benefit from an evaluation every few years, sooner after a renovation, a move-in, a water event, or if anyone in the home has respiratory sensitivities. The long, hot summers in McKinney mean HVAC systems run hard for months at a time, which cycles more air through the ducts than a milder climate would, so the “sooner” side of that range is common. Call (866) 361-7225 to talk through your situation and get a straight answer on whether it’s time.
We offer air duct repair as a first-party service, so if compromised ductwork turns up during cleaning, we can handle the repair in the same engagement rather than leave it for a second contractor. Torn flex liners, loose joints, and damaged sections are the most common findings, and they’re the kind of problem that’s better fixed before it’s been running undetected for months. Call (866) 361-7225 to schedule an evaluation.
The Bottom Line
The DIY-versus-professional question has a real answer, and it isn’t “professionals always win.” Homeowners in McKinney can legitimately handle grille cleaning, filter replacement, and inspection, and we’d rather you do those well than skip them. The line falls where physics takes over: consumer equipment can’t establish the negative pressure needed to lift bonded debris off duct walls, so anything inside the run stays inside the run. Where DIY helps most is as reconnaissance. A thorough phone-camera inspection becomes the brief that makes a professional visit faster and sharper. And if you’re looking at a home in McKinney with a visible duct problem, a musty smell, or a recent renovation, the choice is easy. For the full picture of what’s available, our McKinney hub covers dryer vent cleaning alongside the duct services, all under one roof.
Call (866) 361-7225 for a free estimate. We answer 24/7. Fast dispatch from 7am to 7pm, Sunday through Friday. You’ll get one flat price per system agreed before work starts, before-and-after photos of your own ducts, and a documented process from technicians with up to 13 years of experience.
Written by the team at Duct Cleaning McKinney.